Building the Perfect Base for a Firewood Oven

When setting up a firewood oven, constructing a robust and efficient base is crucial. A well-designed base not only supports the significant weight of the oven but also simplifies the installation process, particularly for pre-fabricated models. In this blog post, I'll guide you through the best practices for building a firewood oven base using reinforced concrete, concrete blocks, or bricks, with a specific focus on a three-walled, open-top design.
1. Choosing the Right Materials
To begin, selecting the appropriate materials is fundamental. For durability and strength, reinforced concrete, concrete blocks, and bricks are excellent choices. Each material has its own benefits:
- Reinforced Concrete: Offers exceptional strength and longevity, ideal for supporting heavy ovens.
- Concrete Blocks: Easier to handle and assemble, concrete blocks provide good stability and can be reinforced for added strength.
- Bricks: Aesthetically pleasing, bricks offer a traditional look and can be very sturdy when correctly laid.
2. Designing the Base
The design of the base is pivotal. For a firewood oven, a base with three walls and no top is most practical. Here’s why:
- Three-Walled Structure: This design ensures that the base is sturdy enough to bear the oven's weight while remaining accessible. The open side makes it easier to position and install the oven, especially the pre-fabricated types.
- No Top: Leaving the top open is crucial. It avoids any issues with fitting the oven onto the base and allows for adjustments during installation. This approach also ensures that the oven can be serviced or replaced without demolishing the base.
3. Building the Base
Here’s a step-by-step guide on how to build your three-walled, open-top base:
Step 1: Foundation
- Start by preparing a level and stable ground. Dig a foundation trench about 6 inches deep and fill it with a layer of gravel for drainage.
- Pour a concrete footing reinforced with steel rebar to provide a solid foundation.
Step 2: Wall Construction
- Begin laying your chosen material (concrete blocks, bricks, or pouring reinforced concrete) to form three walls. Ensure each layer is level and the corners are square.
- For concrete blocks and bricks, use mortar to bond the materials. Keep the joints even for stability and strength.
- Reinforce the structure with rebar or metal braces, especially if using blocks or bricks.
Step 3: Curing and Sealing
- Allow the concrete or mortar to cure fully, which may take several days.
- Once cured, apply a waterproof sealant to protect the base from moisture and weather conditions.
4. Installation Tips
- Ensure the base is completely dry and cured before installing the oven.
- Consider the weight distribution of the oven and ensure it will be evenly supported by the base.
- If possible, have professionals assist with the installation of the oven to ensure it is done safely and correctly.
5. Final Touches
- Once the oven is installed, you might want to beautify the visible parts of the base by applying a stucco finish or painting it to match your outdoor decor.
- Consider landscaping around the base, such as planting herbs or flowers that can withstand the heat and add to the ambiance of your cooking space.
Constructing a strong, efficient base for your firewood oven is a critical step in enjoying endless hours of baking and roasting. By following these guidelines, you can ensure a durable and functional setup that enhances your outdoor cooking experience. Happy building and even happier cooking!
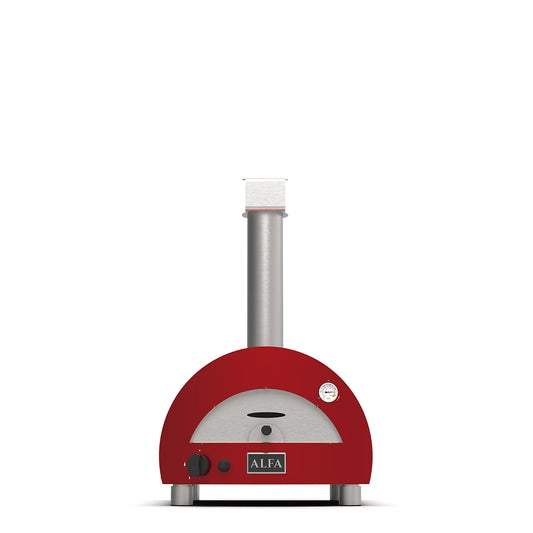
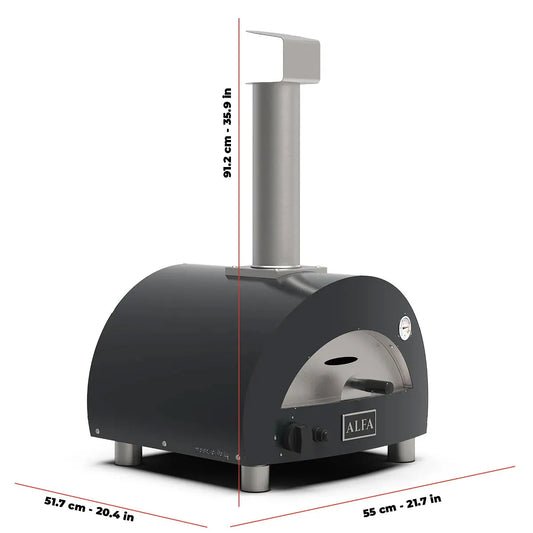
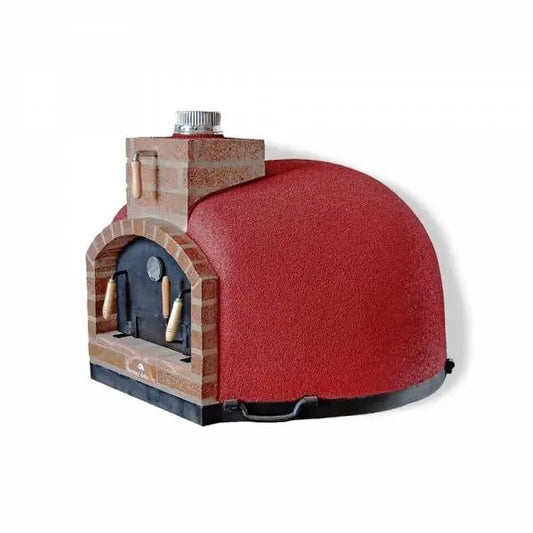
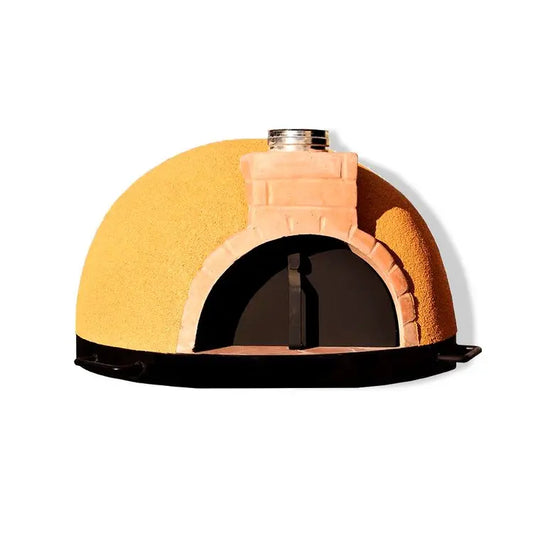
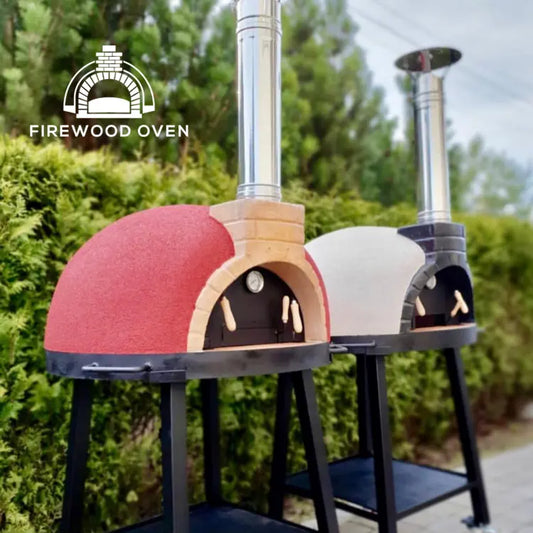
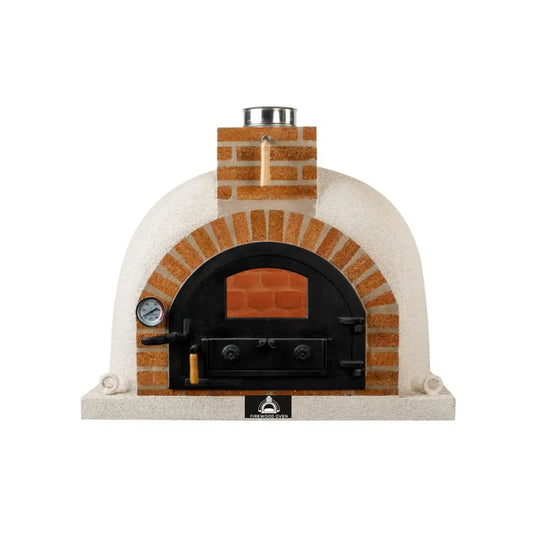
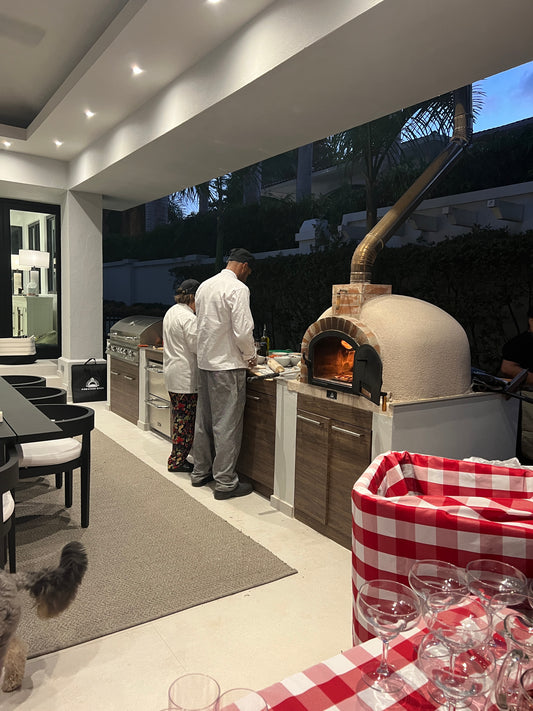
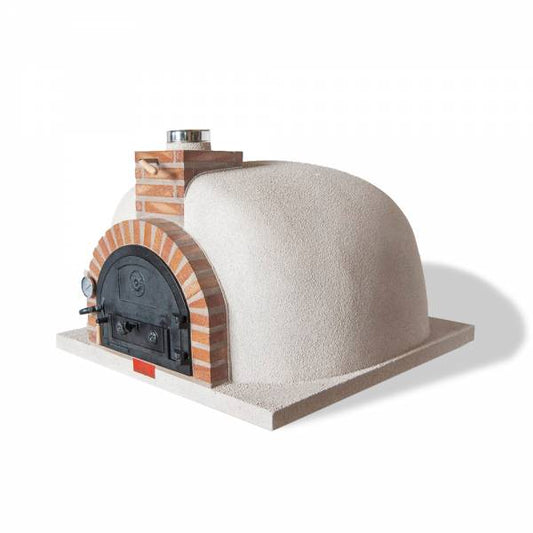
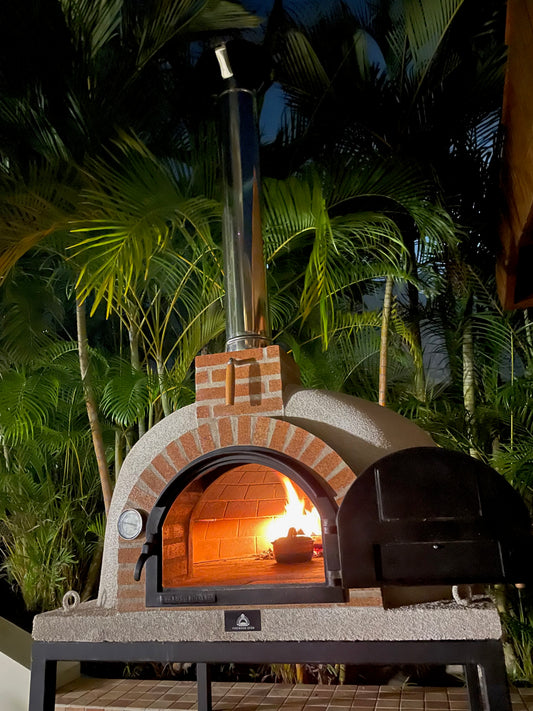
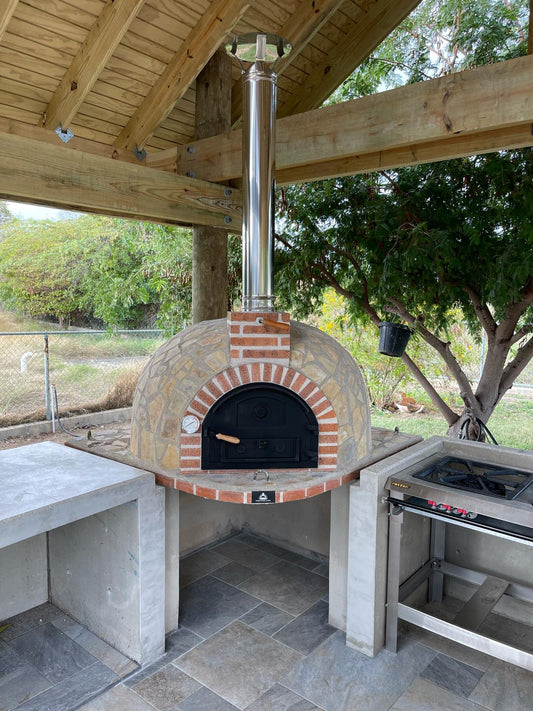
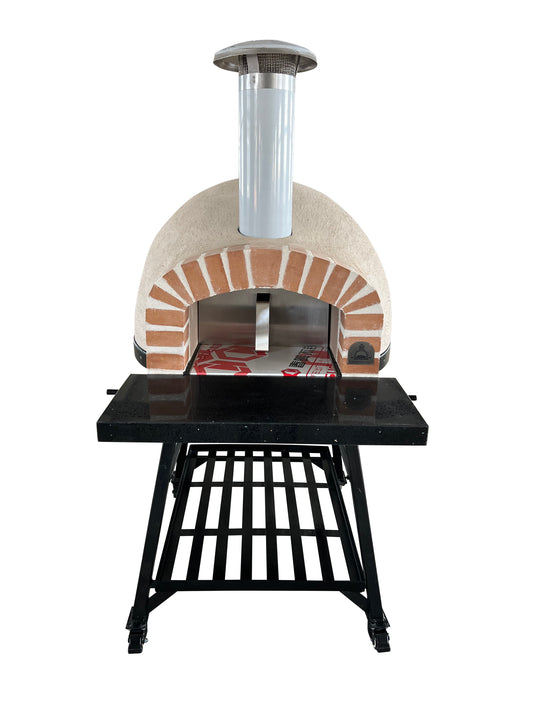
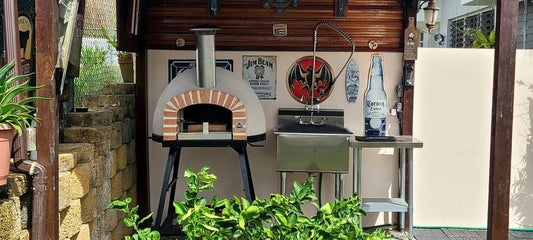
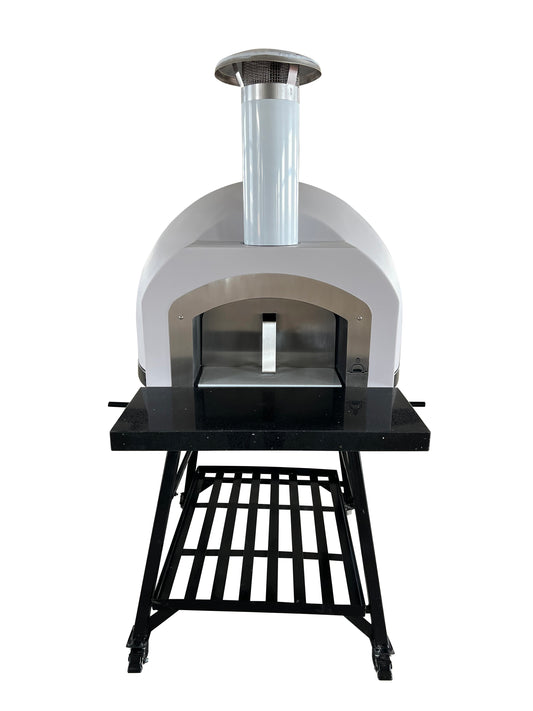
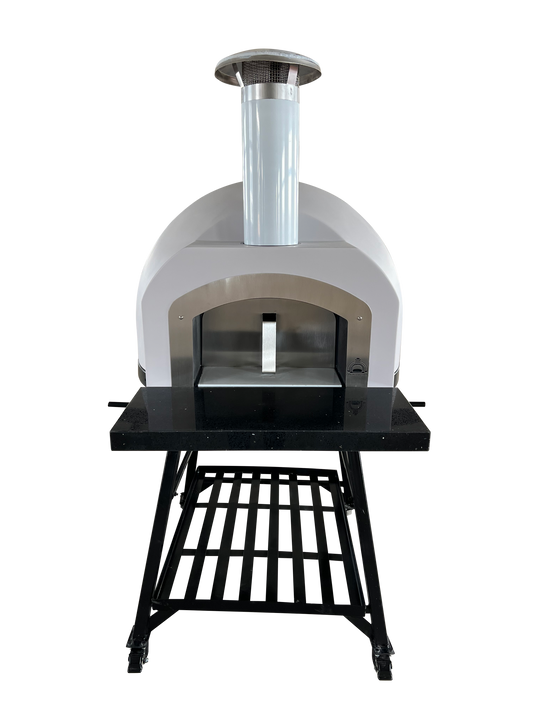
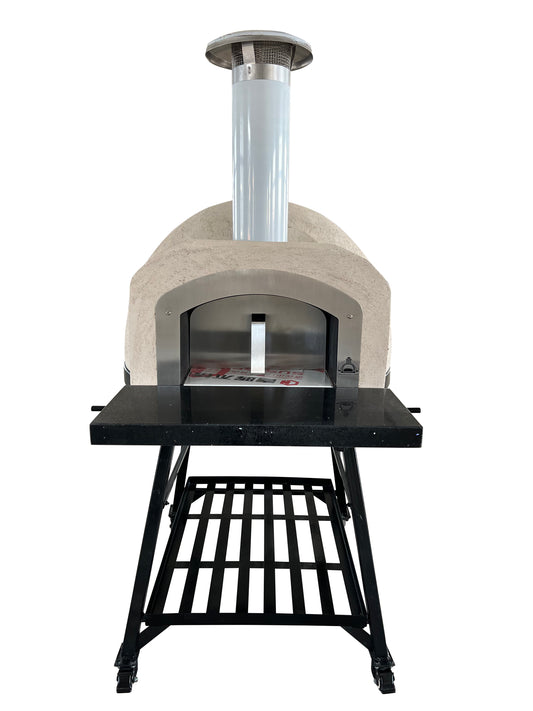
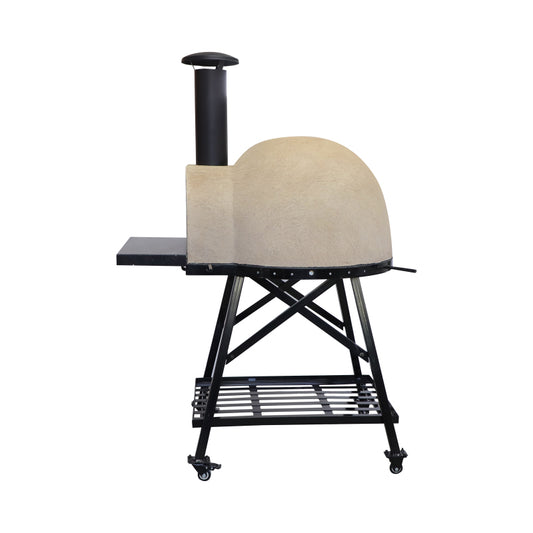
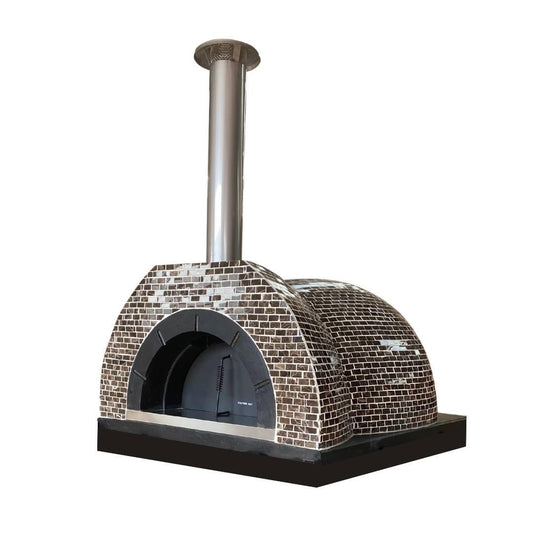
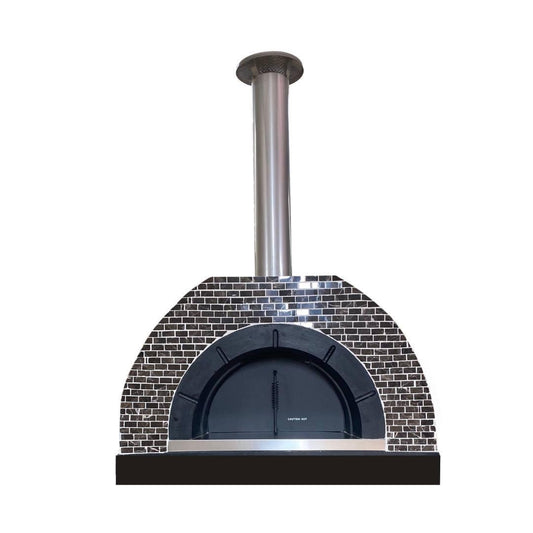
Example Pictures: