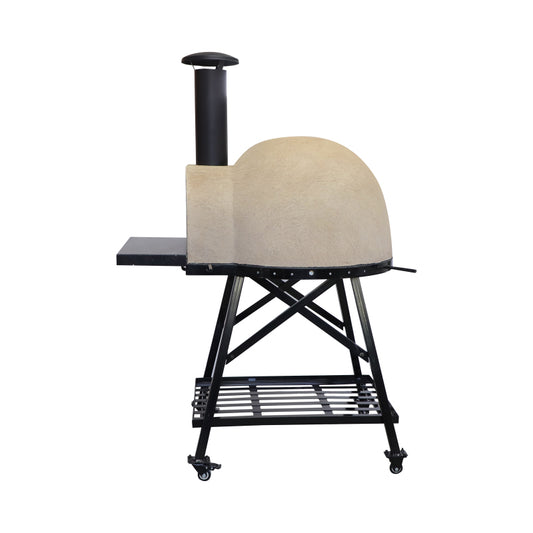
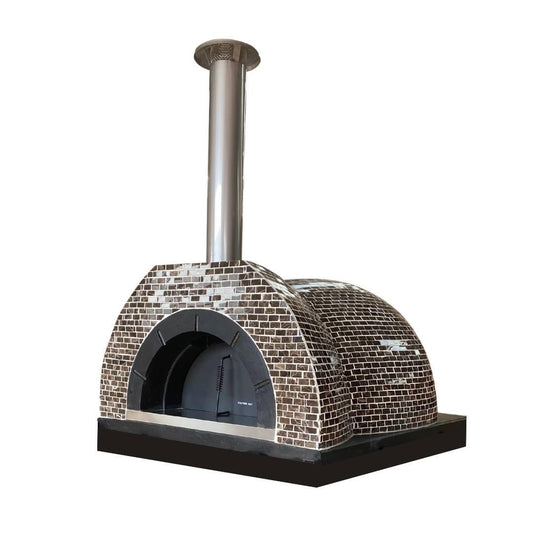
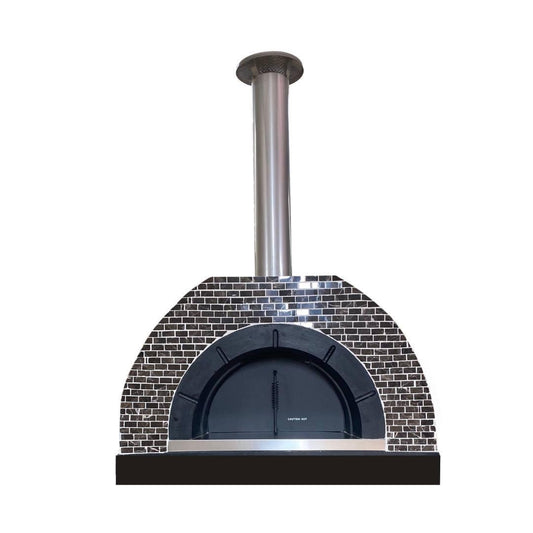
If you have recently bought or built a wood fired oven, you might be wondering how to prepare it for cooking delicious pizzas, breads, and other dishes. Curing a wood fired oven is a process of gradually heating up the oven to remove any moisture and strengthen the structure. This will prevent cracks, damage, and poor performance of your oven. In this blog post, we will show you how to cure a wood fired oven in seven easy steps.
What is Curing and Why is it Important?
Curing is the process of drying out the oven gradually over several days by burning a series of small fires. This is important because:
- It removes any moisture from the oven, which can cause steam pressure and cracks when heated up.
- It strengthens the oven structure by allowing the mortar, bricks, and insulation to bond together and harden.
- It improves the oven performance by creating a smooth and even cooking surface and enhancing the heat retention and distribution.
How Long Does it Take to Cure a Wood Fired Oven?
The curing process takes about five days, depending on the size and type of your oven. Each day, you will need to burn a small fire for a few hours, increasing the temperature gradually. You should not rush the curing process or use too much wood, as this can cause thermal shock and damage your oven.
What Do You Need to Cure a Wood Fired Oven?
To cure a wood fired oven, you will need the following items:
- A thermometer to monitor the oven temperature
- A firelighter or matches to start the fire
- FireStarters, cardboard, paper, or dry leaves to use as tinder
- Kindling or small pieces of hardwood to use as fuel
- A metal rake or shovel to move the fire around
- A metal door to control the airflow and heat
How to Cure a Wood Fired Oven: Step-by-Step
Here are the steps to cure a wood fired oven:
- Wait for the oven to dry naturally. Before you start the curing process, you should wait for the oven to dry naturally for at least a week after installation or construction. This will allow the oven to settle and reduce the amount of moisture inside.
- Start with a low-temperature fire. On the first day, you should start with a low-temperature fire of about 100°C / 212°F. To do this, place a firelighter or some matches in the center of the oven floor and stack some cardboard, paper, or dry leaves around it. Then, add some kindling or small pieces of hardwood on top and light the fire. You should keep the fire small and in the center of the oven, and use the door to regulate the airflow and smoke. You should burn the fire for about four hours, checking the temperature regularly with a thermometer.
- Increase the temperature gradually. On the second day, you should increase the temperature to about 150°C / 302°F and burn the fire for another four hours. You can use the same method as the first day, but add more wood as needed. You should also move the fire around the oven floor to heat up different areas. On the third day, you should increase the temperature to about 200°C / 392°F and burn the fire for four hours. On the fourth day, you should increase the temperature to about 250°C / 482°F and burn the fire for four hours. On the fifth day, you should increase the temperature to about 300°C / 572°F and burn the fire for four hours.
- Let the oven cool down completely. After the last fire, you should let the oven cool down completely before using it for cooking. This can take up to 24 hours, depending on the size and type of your oven. You should not touch the oven or open the door while it is cooling down, as this can cause cracks or uneven cooling.
- Inspect and repair any cracks. Once the oven is cool, you should inspect it for any cracks or damage. Small hairline cracks are normal and do not affect the oven performance, but larger cracks should be repaired with a suitable mortar or sealant. You should also check the insulation, chimney, and door for any issues and fix them as needed.
- Seal and protect the oven. To protect your oven from moisture, weather, and stains, you should seal it with a suitable product, such as a concrete and water mix, a silicate-based sealer, or a paint. You should follow the manufacturer’s instructions and apply the sealer evenly over the oven surface. You should also cover the oven with a waterproof cover when not in use, especially during rainy or snowy seasons.
- Enjoy your wood fired oven. Congratulations, you have successfully cured your wood fired oven! You can now enjoy cooking delicious dishes with your oven, such as pizzas, breads, roasts, and more. You should also maintain your oven regularly by cleaning it, checking it for cracks, and resealing it once a year.
Conclusion
Curing a wood fired oven is a simple but essential process that will ensure the longevity and performance of your oven. By following these seven steps, you can cure your oven safely and effectively, and prepare it for cooking amazing meals. If you have any questions or need any help with curing your oven, feel free to contact us or leave a comment below. We hope you found this blog post helpful and informative. Happy curing and happy cooking!
Wood fired Oven Curing Process
| Day | Temperature |
| 1 | 100°C / 212°F |
| 2 | 150°C / 302°F |
| 3 | 200°C / 392°F |
| 4 | 250°C / 482°F |
| 5 | 300°C / 572°F |


